
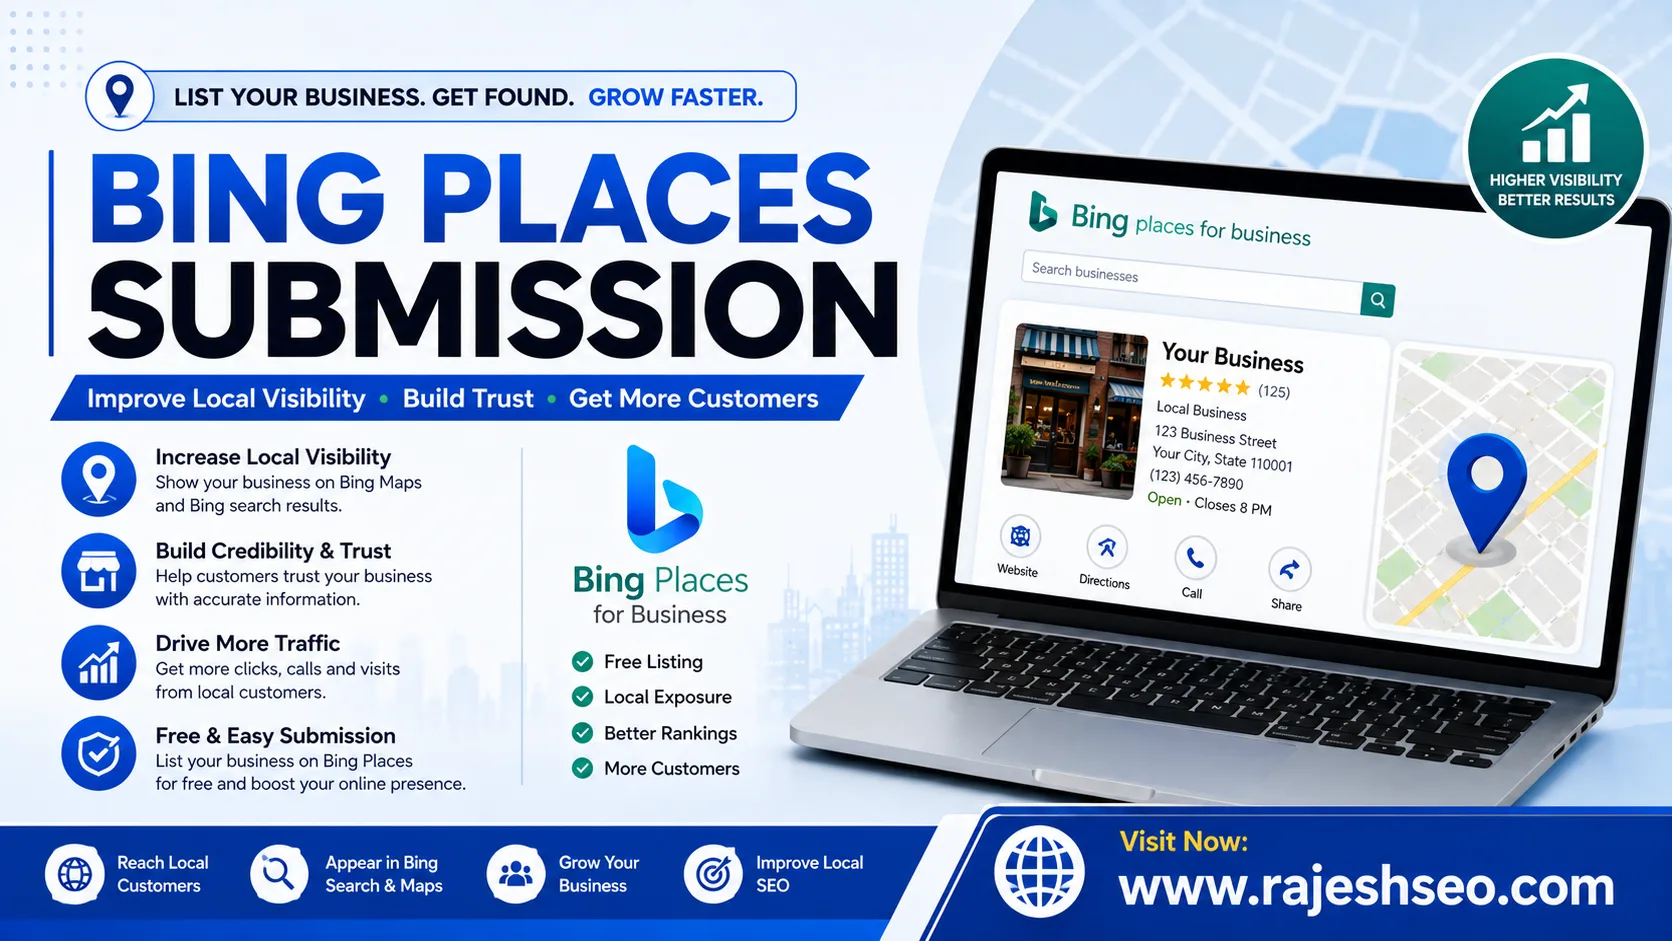
In today’s competitive digital landscape, most local businesses focus almost exclusively on Google Business Profile. While Google remains the dominant search engine, ignoring Bing is a costly mistake. Bing still powers hundreds of millions of daily searches, serves as the default engine on many Windows devices and Microsoft Edge browsers, and increasingly feeds results into Microsoft Copilot and other AI-powered tools.
Bing Places for Business (now fully integrated at the official site https://www.bing.com/forbusiness) is Microsoft’s free platform that lets you claim, create, and manage your business listing so it appears accurately in Bing search results and Bing Maps. A complete, verified Bing Places listing improves local visibility, builds trust, strengthens your overall citation profile, and helps your business show up in AI answers generated by Microsoft tools.
This comprehensive guide walks you through everything you need to know about Bing Places submission in 2026 — from creating or claiming your listing to full optimization and ongoing maintenance — written in clear USA English.
Why Bing Places Submission Matters in 2026
Many business owners assume Bing’s market share is too small to matter. That view is outdated. Bing continues to deliver meaningful traffic, especially among desktop users, older demographics, and people who rely on Microsoft products. More importantly, Bing’s index now powers a growing share of AI search experiences, including Microsoft Copilot. If your business information is missing or inaccurate on Bing, you risk being invisible in those AI-generated answers.
A strong Bing Places listing also supports local SEO overall. Search engines and AI systems look for consistent Name, Address, and Phone (NAP) data across the web. Having an accurate, verified presence on Bing strengthens your citation consistency and can indirectly support rankings on other platforms.
Key benefits of submitting and optimizing your Bing Places listing include:
- Appearance in Bing local search results and Bing Maps
- Visibility inside Microsoft Copilot and related AI tools
- Free control over how your business information is displayed
- Ability to add photos, hours, website links, and categories
- Protection against unauthorized changes once verified
- Additional citation value that supports broader local SEO efforts
The official platform is available at https://www.bing.com/forbusiness. Bookmark this URL — it is the current home for all Bing Places management after the migration from the older bingplaces.com domain.
Step-by-Step Bing Places Submission Process
1. Prepare Your Business Information
Before you start, gather accurate, consistent details that match what appears on your website, Google Business Profile, and other directories:
- Exact legal or customer-facing business name (no keyword stuffing)
- Full street address (even service-area businesses must provide one for verification)
- Primary phone number
- Website URL (preferably a location-specific page if you have multiple locations)
- Business hours
- Primary category and additional relevant categories
- High-quality photos (storefront, interior, products, team, logo)
- Short, factual business description
Consistency is critical. Any mismatch in NAP data can create confusion for both customers and search engines.
2. Sign In or Create an Account
Go to the official site: https://www.bing.com/forbusiness.
Sign in with a Microsoft account. You can also use Google or Facebook login options in many cases. For best long-term management, use a business email associated with your company rather than a personal account.
3. Search for Your Existing Listing
Bing often already has unclaimed listings pulled from public data sources. Search by business name and address.
- If a matching listing appears and is unclaimed, select it and begin the claim process.
- If multiple similar listings appear, choose the most accurate one and report any clear duplicates.
- If no listing exists, choose the option to create a new business.
4. Import from Google Business Profile (Recommended)
One of the fastest and most accurate methods is importing from an already verified Google Business Profile. Bing offers this option during setup. Importing typically brings over your name, address, phone, hours, categories, and photos, and in many cases can speed up or even instant-verify your Bing listing because Microsoft trusts Google’s existing verification.
If you do not have a Google Business Profile or prefer to build manually, you can enter all details from scratch.
5. Complete Your Listing Details
Fill in every relevant field carefully:
- Business name — Use the exact name customers know and that appears on your signage and website.
- Address — Enter the complete, accurate address. Service-area businesses can usually hide the address from public view while still providing it for verification.
- Phone number — Use a local number whenever possible.
- Website — Link to your main site or the specific location page.
- Categories — Choose one primary category that best describes your core business, then add secondary categories as needed. Accurate categories help Bing show your listing for the right searches.
- Hours of operation — Include regular hours and any special holiday hours.
- Description — Write a clear, factual summary of what your business offers. Avoid heavy marketing language or superlatives. Naturally include relevant local keywords where they fit.
- Photos — Upload as many high-quality images as possible (Bing allows up to 100). Include exterior, interior, products or services, and team photos. Good visuals significantly improve engagement.
- Additional details — Add social media links, attributes, amenities, or menu links if applicable (especially useful for restaurants and hotels).
6. Verify Your Listing
Verification is required before your listing fully goes live and before you can control it. Available methods typically include:
- Import from Google — Often the fastest route to verification.
- Phone or SMS — Quick when available.
- Email — Sometimes offered.
- Postcard — A PIN mailed to your business address (usually arrives in 5–14 business days).
Once you receive the PIN or confirmation, enter it in the dashboard to complete verification. After verification, your listing will publish (publishing time can vary).
7. Optimize and Maintain
A completed listing is only the beginning. Ongoing optimization improves performance:
- Keep all information up to date, especially hours and temporary closures.
- Add new photos regularly.
- Monitor for any unauthorized changes or new duplicate listings.
- Ensure your website and other online profiles continue to match the Bing data exactly.
- Use the insights available in the dashboard to understand how customers find and interact with your listing.
Best Practices for Strong Performance
- Maintain perfect NAP consistency across Bing, Google, your website, and other directories.
- Choose categories carefully — the primary category has the strongest influence.
- Upload high-resolution photos that show real aspects of your business.
- Write a helpful, accurate description rather than keyword-stuffed marketing copy.
- Claim any existing unclaimed listings instead of creating unnecessary duplicates.
- For multi-location businesses, use bulk tools where available or manage locations carefully.
- Agencies managing client listings should follow Bing’s authorization process.
Common Mistakes to Avoid
- Keyword stuffing the business name
- Inconsistent address or phone number formats
- Leaving important fields blank
- Using a personal rather than business Microsoft account for long-term management
- Ignoring verification or letting a listing remain unclaimed
- Creating a new listing when an existing one already exists
Bing Places vs. Google Business Profile
Both platforms are free and valuable. Google Business Profile reaches a much larger overall audience, while Bing Places faces less competition and feeds Microsoft’s ecosystem (including Copilot). The smart strategy is to maintain both and keep the information identical. Importing from Google into Bing makes the process efficient.
Final Thoughts
Submitting and optimizing your business on Bing Places is one of the highest-ROI free actions you can take for local visibility in 2026. The process is straightforward, the platform is free, and the benefits extend beyond traditional search into AI-powered answers and Microsoft product surfaces.
Start today at the official site: https://www.bing.com/forbusiness. Search for your business, claim or create the listing, complete every section thoroughly, verify ownership, and keep the information accurate over time. Businesses that take this step often gain an edge simply because many competitors still overlook Bing entirely.
A complete Bing Places presence strengthens your local digital footprint, helps customers find accurate information, and positions your business for both traditional and AI-driven discovery.